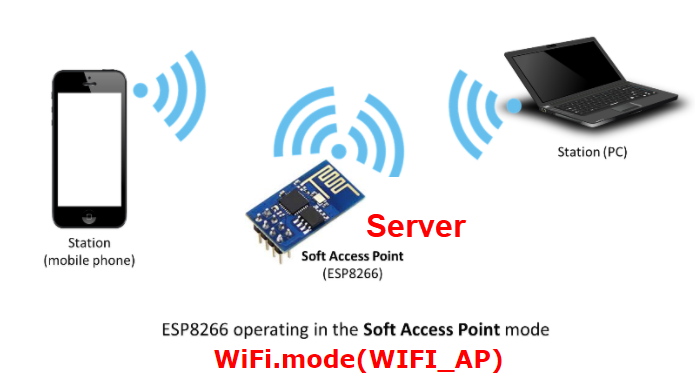
ESP8266: AP + Server
區網
ESP8266 RX,TX接至PC或ATMeaga等晶片
ESP8266執行工作: WiFi<--->Uart
例1: 工作模式(ESP<-->PC)(GPIO 0浮接)
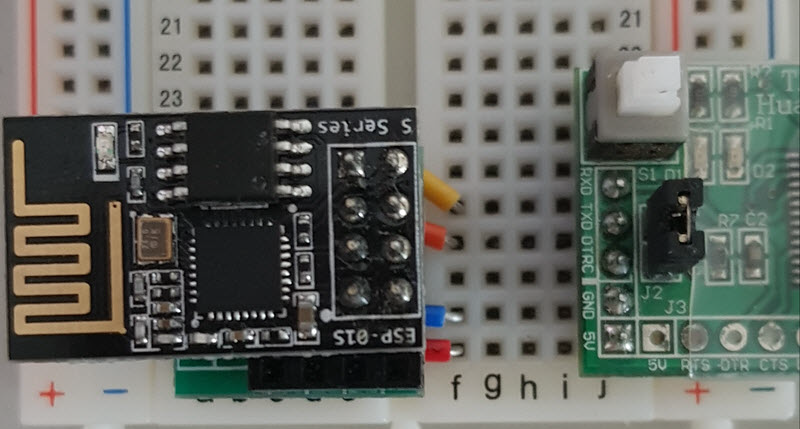
例2: ESP<-->ATMega晶片
ESP:RX,TX<-->WiFi
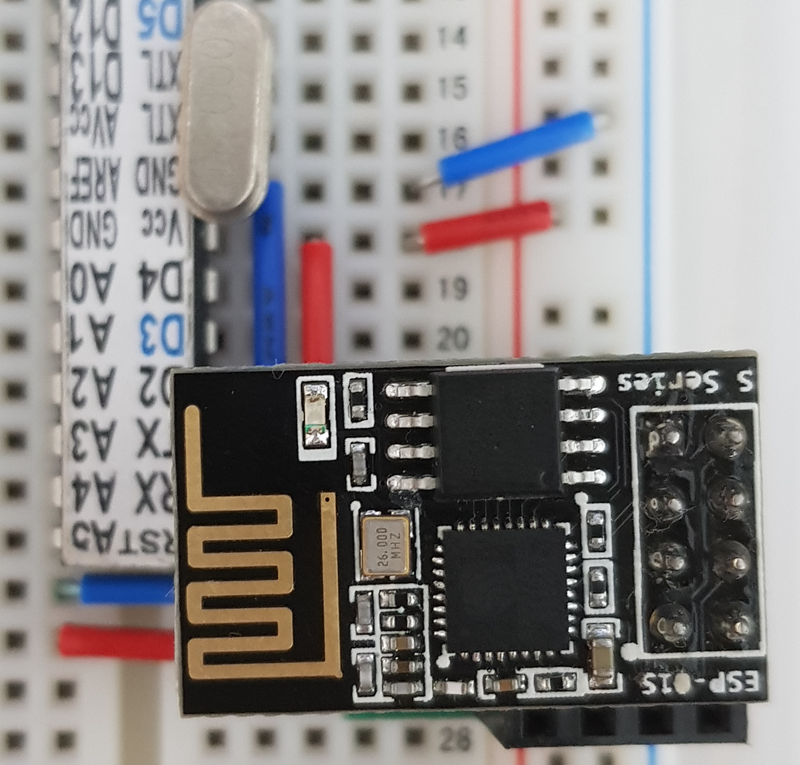
| Transparent UART ESP8266 as softAP without router (no internet) |
| 1. 準備 ESP8266 Transparent UART |
| Arduino 開發 ESP8266 |
| ESP8266WiFi
Documentation (GitHub) |
| Soft Access Point Class Soft Access Point example |
ESP8266: AP + Server 區網 ESP8266 RX,TX接至PC或ATMeaga等晶片 ESP8266執行工作: WiFi<--->Uart 例1: 工作模式(ESP<-->PC)(GPIO 0浮接) 例2: ESP<-->ATMega晶片 ESP:RX,TX<-->WiFi |
| 1.
Station(手機 或 PC) 可以連到 ESP8266 Soft AP 2. WiFi <--> UART |
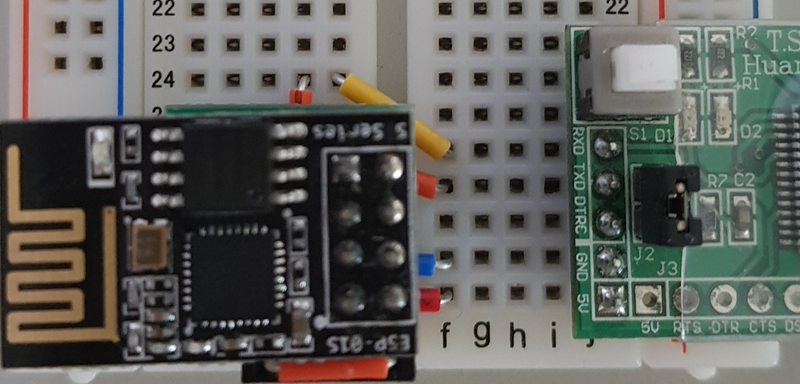 Arduino ESP sketch upload (GPIO0接地 燒錄完成浮接) |
| 連線 |
| ESP8266WiFi library(web)(socket server) Soft Access Point Class #include <ESP8266WiFi.h> #define ssid "yourSSID"//自訂 SSID CSggx #define pw "yourPWD8" //自訂密碼至少8個字 // connect to this IP (可改) 預設192.168.4.1 IPAddress ip(192, 168, 40, 1); IPAddress netmask(255, 255, 255, 0); IPAddress ip_gateWay(192, 168, 40, 1); //WiFi.mode(WIFI_AP) WiFi.softAP(ssid, password) //預設值為192.168.4.1 WiFi.softAPConfig (ip, ip_gateway, netmask) 若有需要 WiFi.softAPIP() //詢問IP |
| 建立Server 與client 物件 |
| //
建立 Server #include <ESP8266WiFi.h> /* The constructor for the WiFiServer class receives as argument the port where the socket server will be listening to incoming connections. The port is specified as an integer. Note that the port is one of the parameters that the socket client will need to know in order to be able to reach the socket server hosted on the ESP8266. */ WiFiServer server(port) /* connect the ESP8266 to the WiFi network, so it can be reached by clients connected to that same network. Call the begin method on the WiFiServer object. This method call is used to initialize the socket server. */ server.begin(); //建立連進server之client 物件 //#include <WiFiClient.h> 已於ESP8266WiFi.h include WiFiClient client; //連進softAP之client |
| Wi-Fi to UART |
| //Wi-Fi
to UART 將此程式碼 燒至esp8266 //AP Mode #include <ESP8266WiFi.h> #include <WiFiClient.h>//可略 #define UART_BAUD 115200 #define packTimeout 5 // ms #define bufferSize 8192 //#define bufferSize 8 #define port 9876 //若使用RoboRemo 需用此Port #define ssid "yourSSID"//自訂 SSID CSggx #define pw "yourPWD8" //自訂密碼至少8個字 #define led 2 WiFiServer server(port);//設定Server port WiFiClient client; //連進softAP之client byte buf1[bufferSize]; byte i1=0; byte buf2[bufferSize]; byte i2=0; void setup() { pinMode(led,OUTPUT); digitalWrite(led,1); delay(500); Serial.begin(UART_BAUD); WiFi.mode(WIFI_AP); WiFi.softAP(ssid, pw); //設為soft AP /* default IP address of 192.168.4.1. This address may be changed using softAPConfig softAPConfig (local_ip, gateway, subnet) */ //若不改變IP(192.168.4.1) 紅色部分可省 IPAddress ip(192, 168, 40, 1); // connect to this IP (可改) IPAddress netmask(255, 255, 255, 0); IPAddress ip_gateWay(192, 168, 40, 1); WiFi.softAPConfig(ip, ip_gateWay, netmask); server.begin(); // start TCP server (initialize) digitalWrite(led,0); } void loop() { //等待 client 連入 if(!client.connected()) { // if client not connected client = server.available(); // wait for it to connect return;//若沒有client, 以下程式碼皆不執行(回loop起始點) } service(client); } void service(WiFiClient client){ // here we have a connected client if(client.available()) { while(client.available()) { buf1[i1] = (byte)client.read(); // read char from client if(i1<bufferSize-1) i1++; } // now send to UART: Serial.write(buf1, i1); i1 = 0; } if(Serial.available()) { // read the data until pause: while(1) { if(Serial.available()) { buf2[i2] = (char)Serial.read(); // read char from UART if(i2<bufferSize-1) i2++; } else { //delayMicroseconds(packTimeoutMicros); delay(packTimeout); if(!Serial.available()) { break; } } } // now send to WiFi: client.flush(); client.write((char*)buf2, i2); i2 = 0; } }
|
| //設定 ESP8266為AP #define ssid "yourSSID"//自訂 SSID CSggx #define pw "yourPWD8" //自訂密碼至少8個字 WiFi.softAP(ssid, pw); //預設 ip:192.168.4.1 若有需要自訂IP: IPAddress ip(192, 168, 40, 1); // connect to this IP (可改) IPAddress netmask(255, 255, 255, 0); IPAddress ip_gateWay(192, 168, 40, 1); WiFi.softAPConfig(ip, ip_gateWay, netmask); //設定 並啟動Server #define port 9876 //若使用RoboRemo 需用此Port WiFiServer server(port);//設定Server port WiFiClient client; //連進softAP之client server.begin(); //撰寫服務程式 如: void service(){} //loop() //Server 等待連線 //連入者給于 client 物件 //service(client) 服務連入者 |
| 建立AP範例 |
| 服務 |
Server Class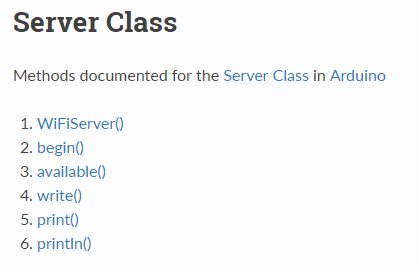 WiFiServer server(port) server.begin() |
Client Class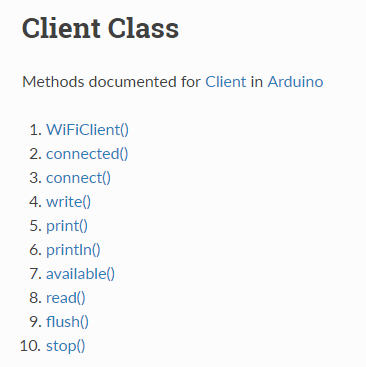 #include <WiFiClient.h> WiFiClient client client.connect(server, port) |
| 當Server 需用到Server Class 與 Client Class 啟動Server 等待Client 連入 |
| 2. 使用ESP8266 UART Transparent |
通訊模式 |
| PC 或 NB 當 client 先將PC 或 NB 以WiFi 連到 ESP8266 AP 開啟SocketTest 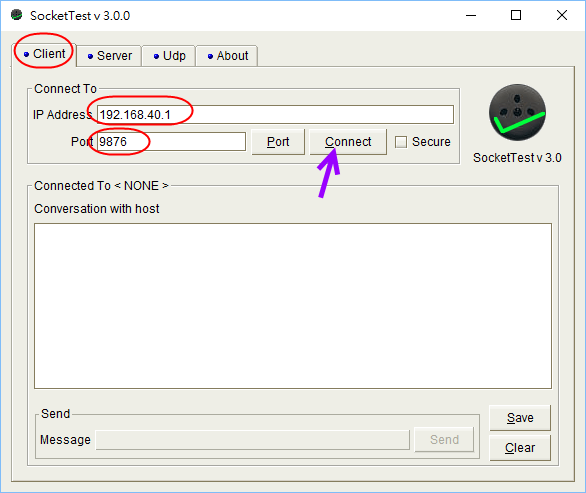 SocketTest.zip 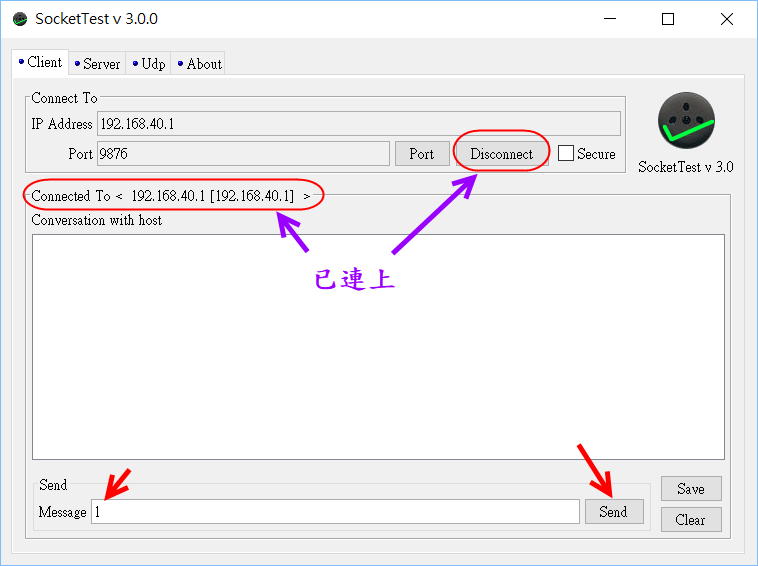 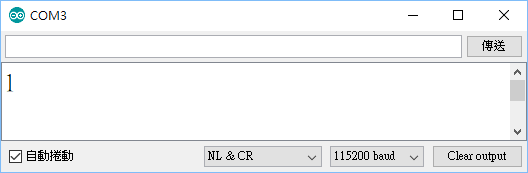 試試從Serial monitor 傳送 OK! |
Google Play 搜尋TCP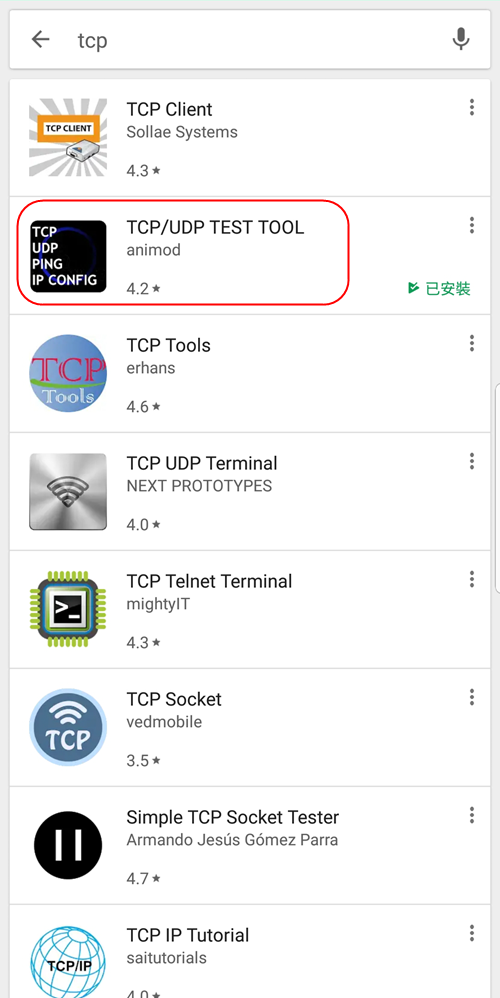 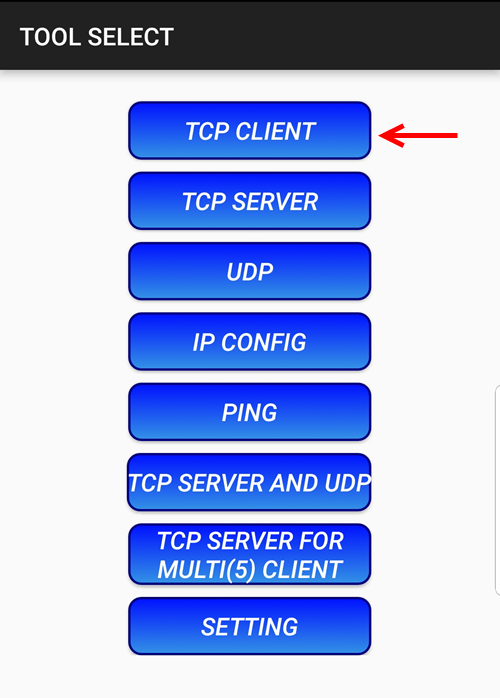 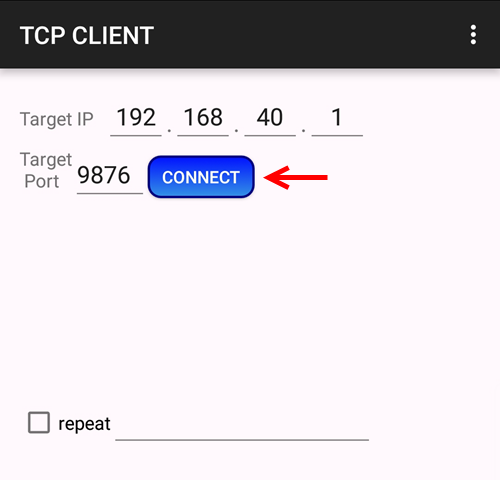 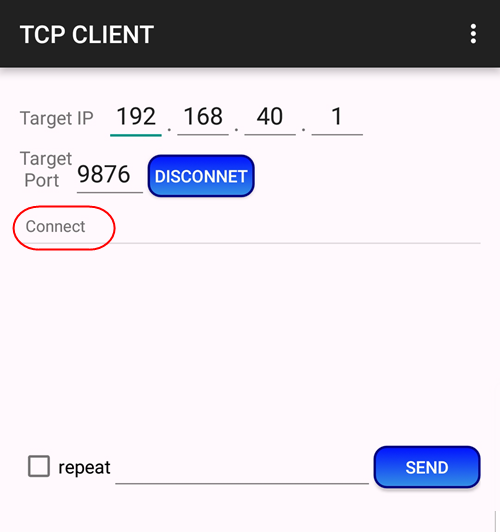 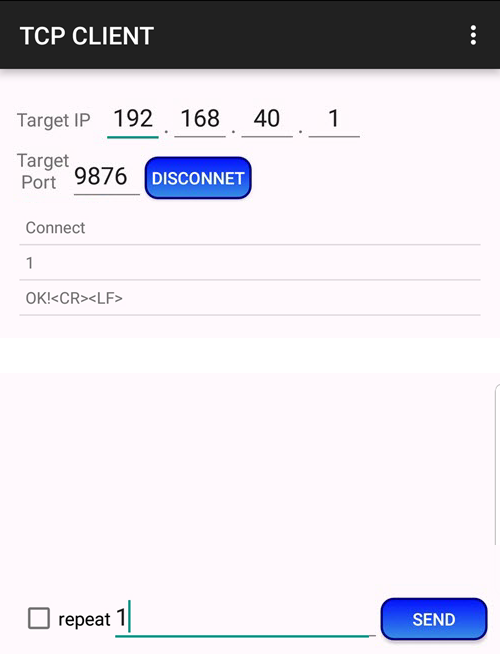 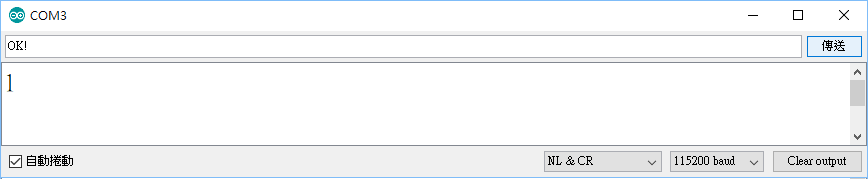 試試其他APP |
使用app inventor 自行設計app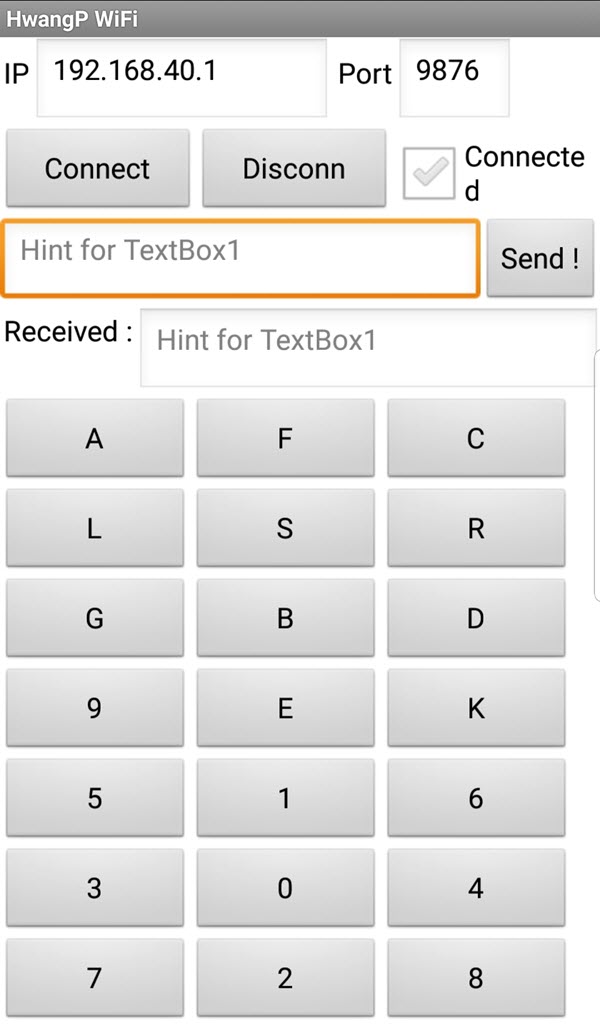 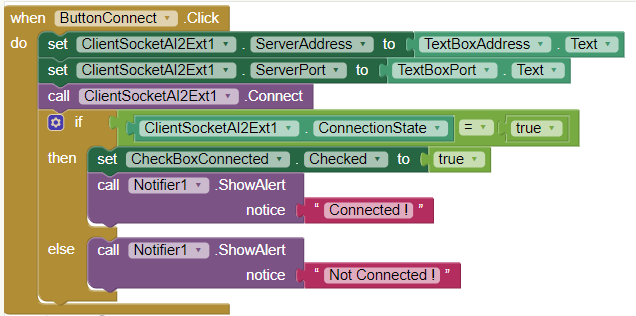 How to use app inventor extension source code Universal_WiFi.aia.zip Universal_WiFi.aia,aixs.zip(含 extensions) apk Universal_WiFi.txt(更名 -->apk) Universal_WiFi.apk.zip
|
| 將ESP-01 與ATMEGA328P-PU 連接 |
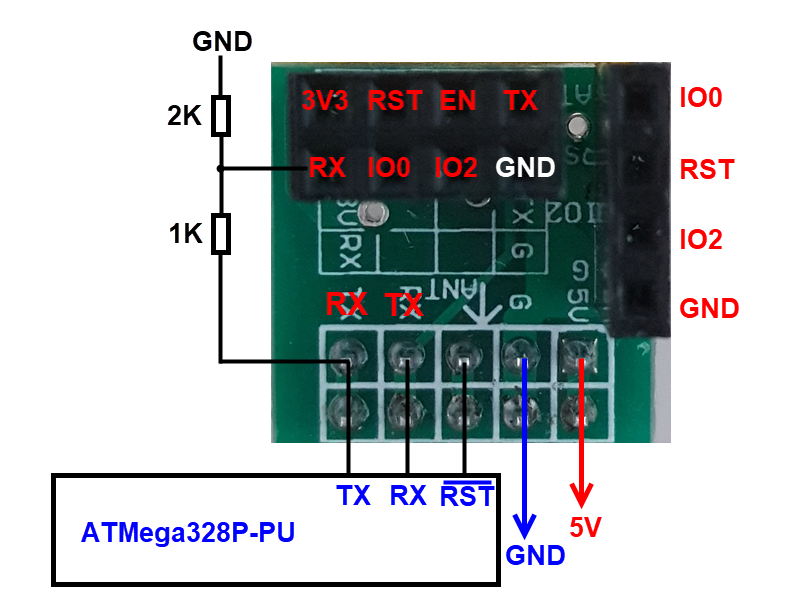 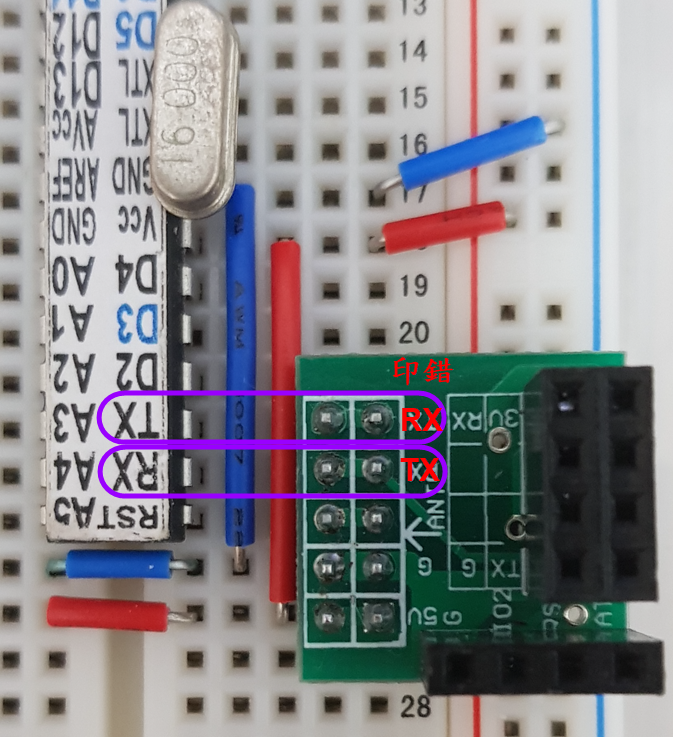 Arduino 工作模式 |
| 使用ESP8266 控制 LED |
| //
將此程式燒入 ATMEGA328P-PU #define led 6 int inB; void setup() { Serial.begin(115200); pinMode(led,OUTPUT) ; digitalWrite(led,LOW); } void loop() { if (Serial.available() > 0) { inB = Serial.read(); if (inB=='1') digitalWrite(led,HIGH);//LED ON if (inB=='0') digitalWrite(led,LOW); //LED OFF } } |
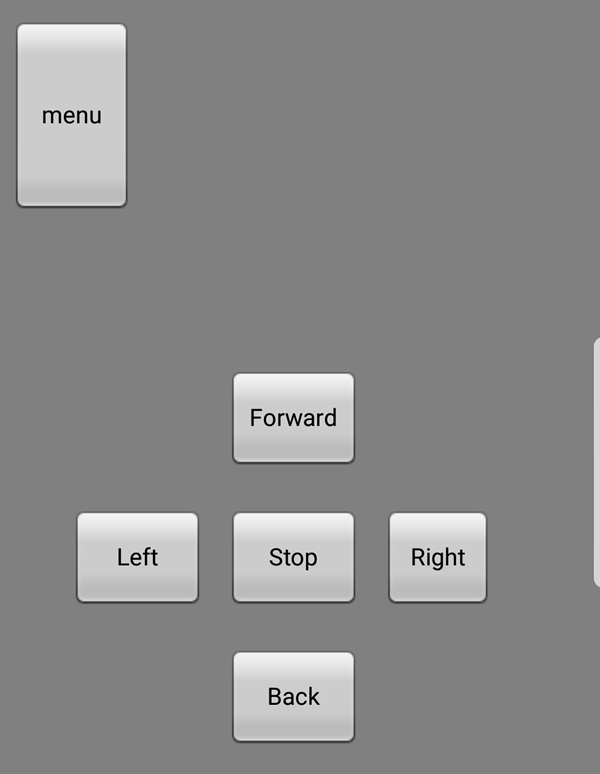
| 使用ESP8266 控制 HwangProbot |
| #define
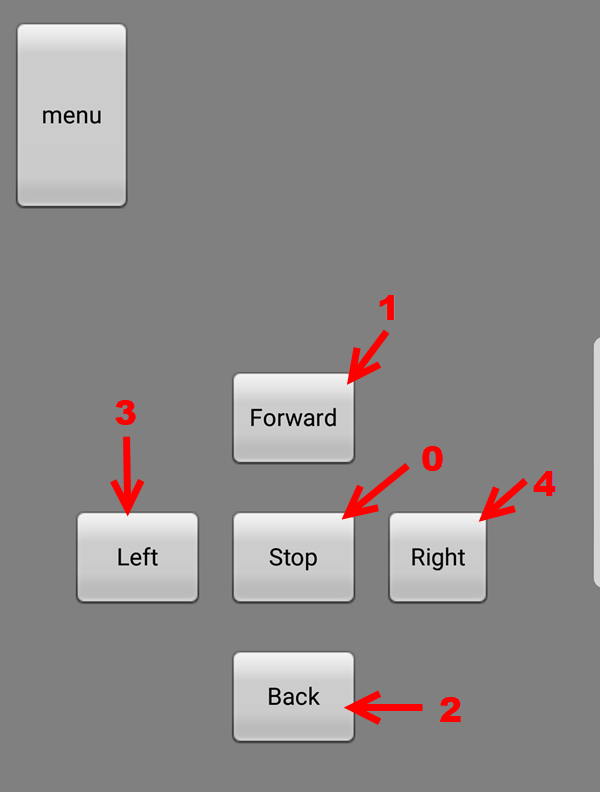
DirR 12 #define DirL 11 #define PwmL 9 #define PwmR 10 int inB; void cM(int dL,int dR,int sL,int sR){ digitalWrite(DirL,dL); digitalWrite(DirR,dR); analogWrite(PwmL,sL); analogWrite(PwmR,sR); } void setup() { Serial.begin(115200); pinMode( DirL , OUTPUT); pinMode( DirR , OUTPUT); cM(HIGH,HIGH,0,0); } void loop() { if (Serial.available() > 0) { inB= Serial.read(); if (inB=='0') cM(HIGH,HIGH,0,0); //停 if (inB=='1') cM(HIGH,HIGH,255,255);//前進 if (inB=='2') cM(LOW,LOW,255,255);//後退 if (inB=='3') cM(LOW,HIGH,255,255);//逆時針 if (inB=='4') cM(HIGH,LOW,255,255);//順時針 } } |
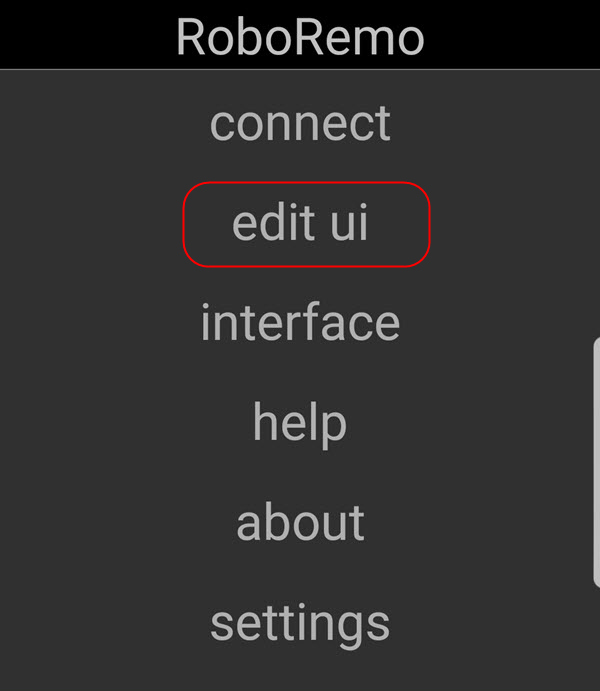
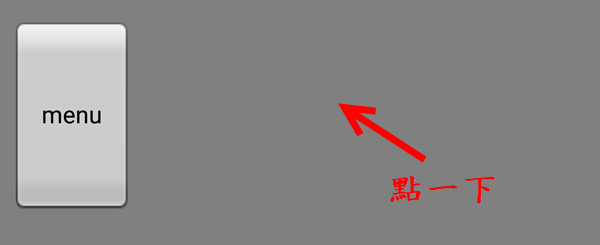
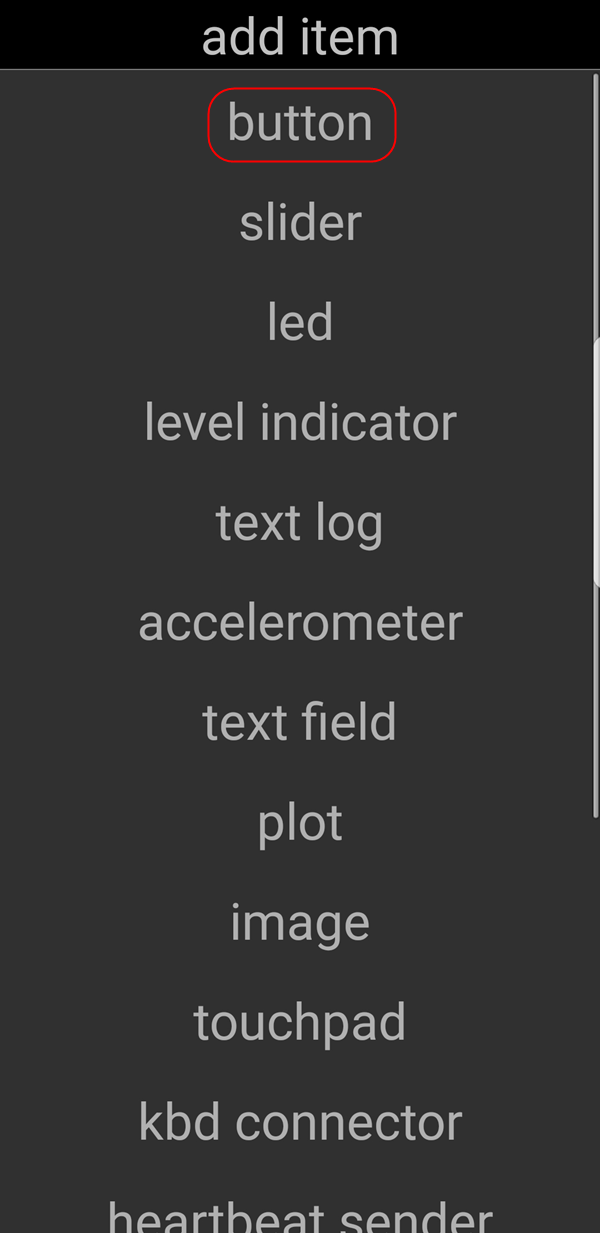
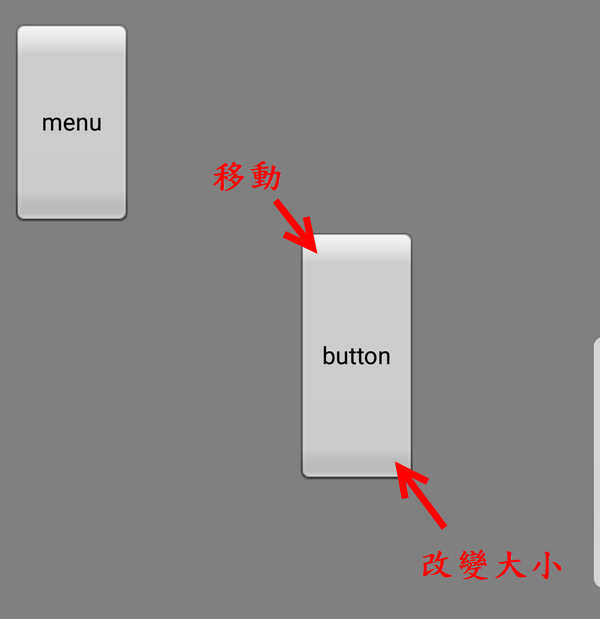
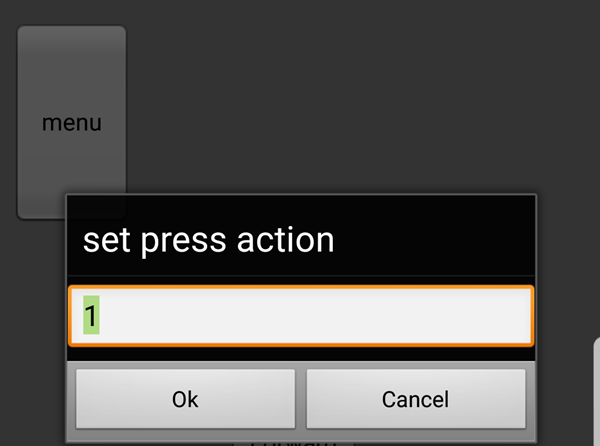
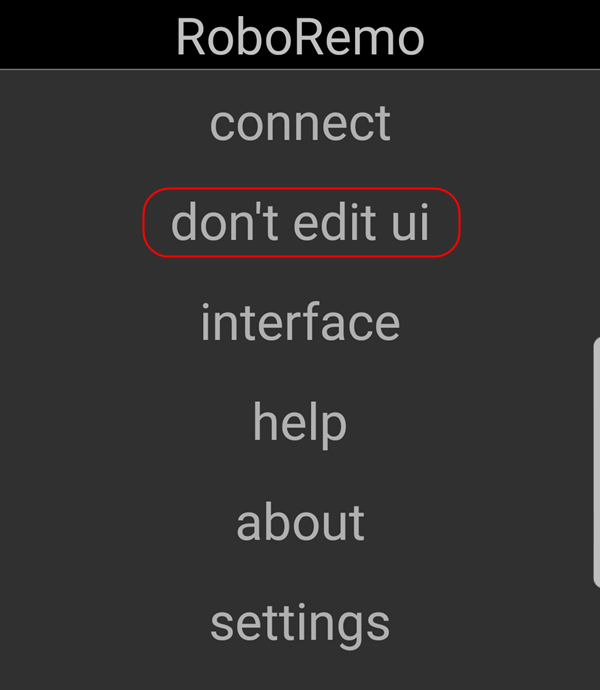
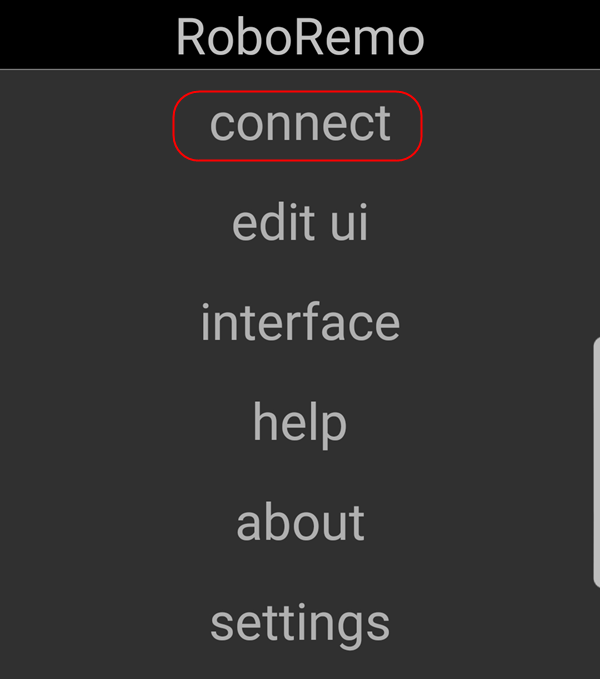
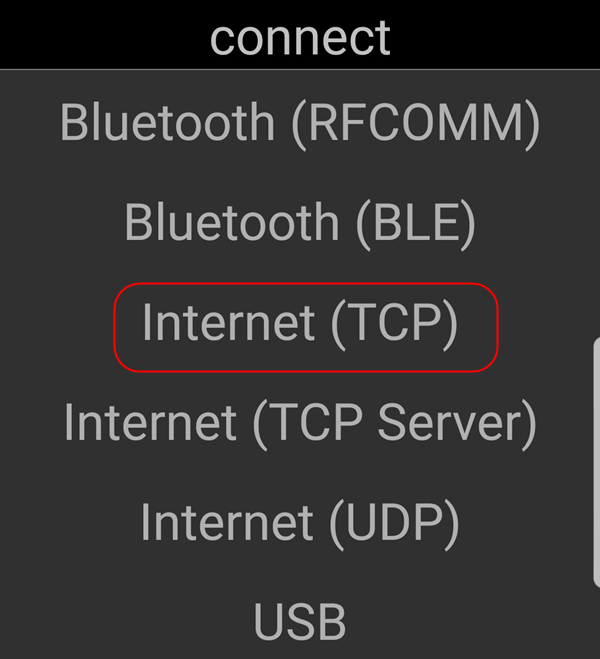
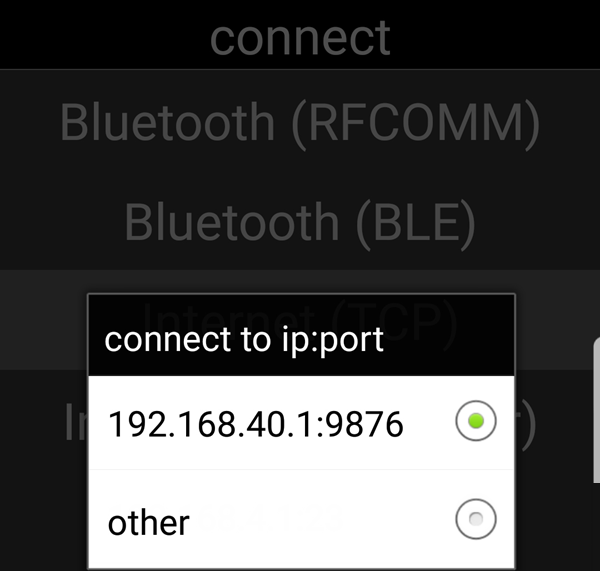
Google Play 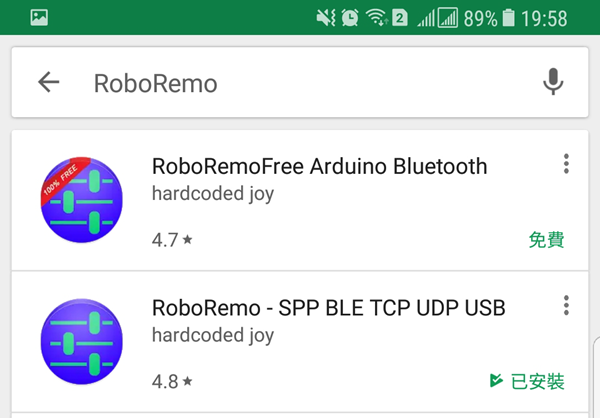 Manual.pdf 說明影片 https://www.roboremo.com |
 |
 |
 |
 |
 |
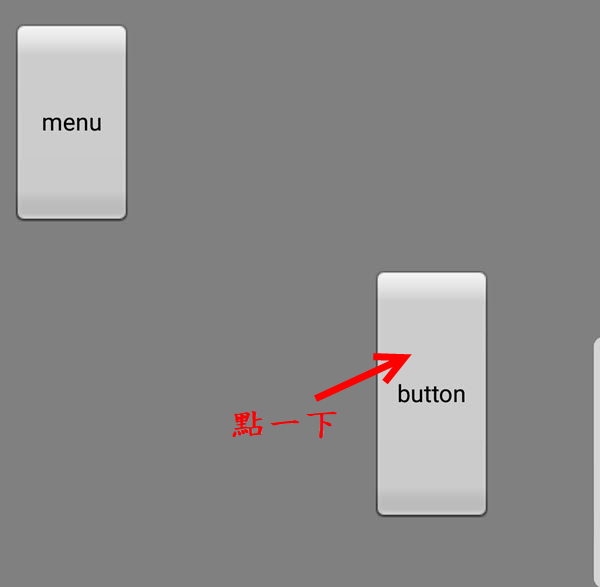 |
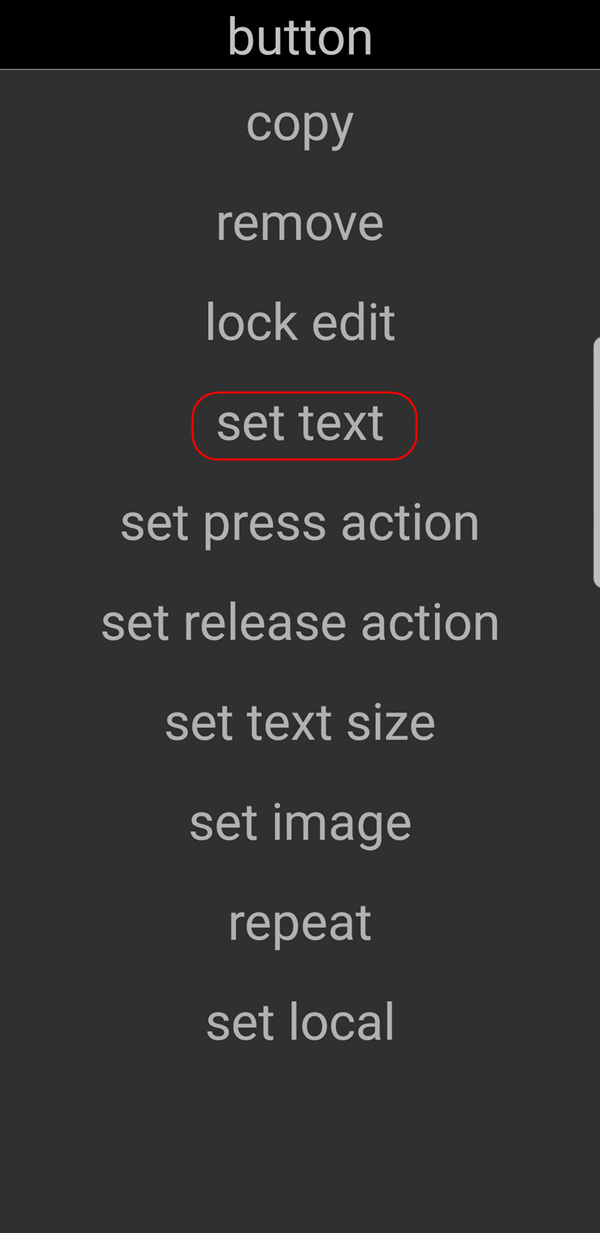 |
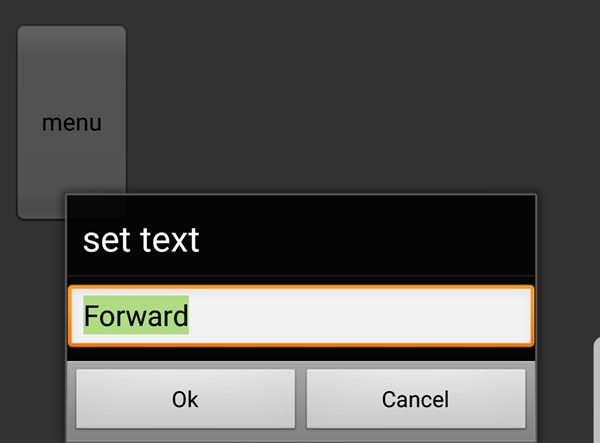 |
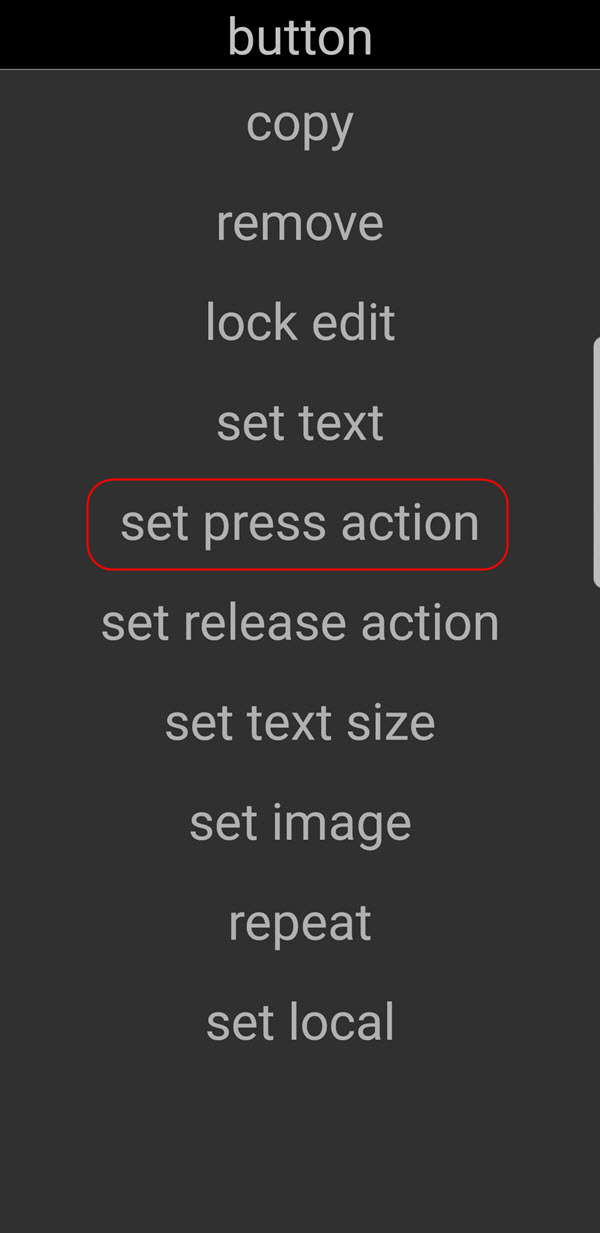 |
 |
 |
 |
 |
 |
 |
 |
| Station UART Transparent 透過Router |
| 請練習看library 之Source code (GitHub) |
| WiFi event handlers |
| /* This sketch shows how to use WiFi event handlers. In this example, ESP8266 works in AP mode. Three event handlers are demonstrated: - station connects to the ESP8266 AP - station disconnects from the ESP8266 AP - ESP8266 AP receives a probe request from a station */ #include <ESP8266WiFi.h> #include <stdio.h> #define APSSID "esp8266" #define APPSK "12345678" #define led 2 const char* ssid = APSSID; const char* password = APPSK; WiFiEventHandler stationConnectedHandler; WiFiEventHandler stationDisconnectedHandler; WiFiEventHandler probeRequestPrintHandler; WiFiEventHandler probeRequestBlinkHandler; bool blinkFlag; void setup() { Serial.begin(115200); pinMode(led, OUTPUT); digitalWrite(led, 0); // Don't save WiFi configuration in flash - optional WiFi.persistent(false); // Set up an access point WiFi.mode(WIFI_AP); WiFi.softAP(ssid, password); // Register event handlers. // Callback functions will be called as long as these handler objects exist. // Call "onStationConnected" each time a station connects stationConnectedHandler = WiFi.onSoftAPModeStationConnected(&onStationConnected); // Call "onStationDisconnected" each time a station disconnects stationDisconnectedHandler = WiFi.onSoftAPModeStationDisconnected(&onStationDisconnected); // Call "onProbeRequestPrint" and "onProbeRequestBlink" each time // a probe request is received. // Former will print MAC address of the station and RSSI to Serial, // latter will blink an LED. probeRequestPrintHandler = WiFi.onSoftAPModeProbeRequestReceived(&onProbeRequestPrint); probeRequestBlinkHandler = WiFi.onSoftAPModeProbeRequestReceived(&onProbeRequestBlink); } void onStationConnected(const WiFiEventSoftAPModeStationConnected& evt) { Serial.print("Station connected: "); Serial.println(macToString(evt.mac)); } void onStationDisconnected(const WiFiEventSoftAPModeStationDisconnected& evt) { Serial.print("Station disconnected: "); Serial.println(macToString(evt.mac)); } void onProbeRequestPrint(const WiFiEventSoftAPModeProbeRequestReceived& evt) { Serial.print("Probe request from: "); Serial.print(macToString(evt.mac)); Serial.print(" RSSI: "); Serial.println(evt.rssi); } void onProbeRequestBlink(const WiFiEventSoftAPModeProbeRequestReceived&) { // We can't use "delay" or other blocking functions in the event handler. // Therefore we set a flag here and then check it inside "loop" function. blinkFlag = true; } void loop() { if (millis() > 10000 && probeRequestPrintHandler) { // After 10 seconds, disable the probe request event handler which prints. // Other three event handlers remain active. Serial.println("Not printing probe requests any more (LED should still blink)"); probeRequestPrintHandler = WiFiEventHandler(); } if (blinkFlag) { blinkFlag = false; digitalWrite(led, 1); delay(100); digitalWrite(led, 0); } delay(10); } String macToString(const unsigned char* mac) { char buf[20]; snprintf(buf, sizeof(buf), "%02x:%02x:%02x:%02x:%02x:%02x", mac[0], mac[1], mac[2], mac[3], mac[4], mac[5]); return String(buf); } |